SSL Certificate for internal app in a Windows domain
The Brief
One of the requirements for a Progressive Web App (PWA) is the use of HTTPS for secure, encrypted communication over a computer network. The computer network most people are familiar with is the internet, but in the scenario for this blog post, it is the company’s Local Area Network (LAN). The PWA will only be accessed by users that are logged into the company domain/network.
Instead of a commercial web hosting service used for allowing access via the internet, the PWA is hosted on one of our internal Windows servers, acting as a web server using Internet Information Services (IIS). To allow use of the HTTPS protocol, a ceritficate validating the address of the app has to be obtained from a Certificate Authority.
Here are all of the steps taken to complete the process.
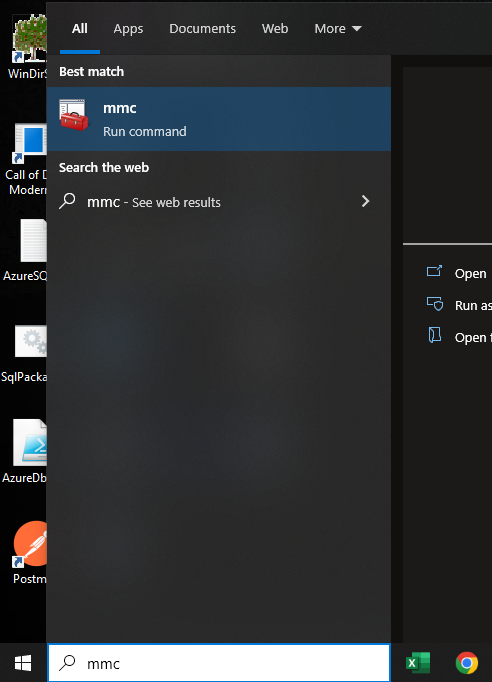
Adding the required Snap-ins
 {.shadow}
Step 1
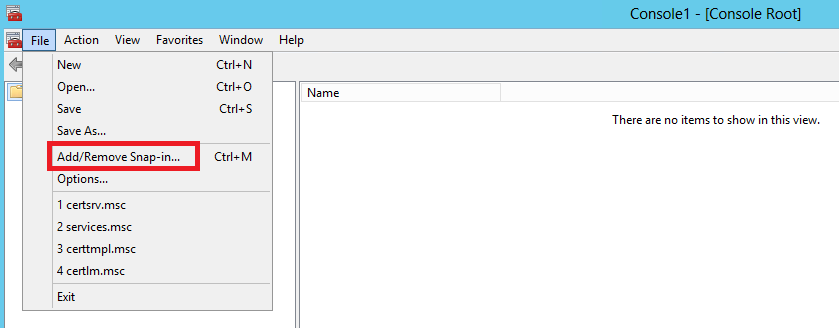{.shadow}Step 2
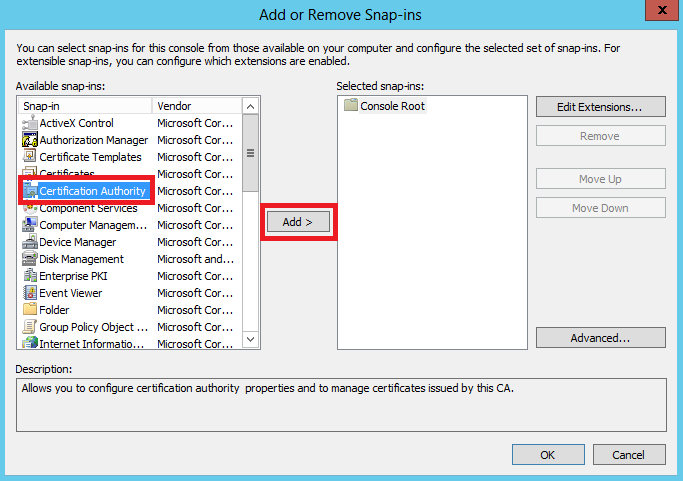{.shadow}Step 3
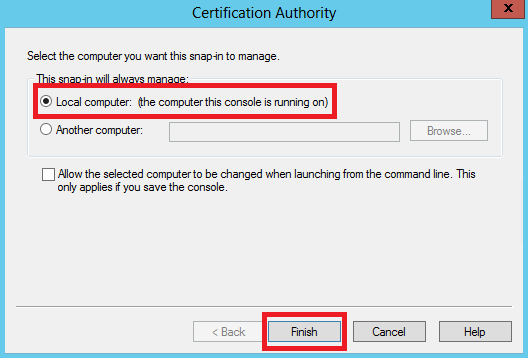{.shadow}Step 4
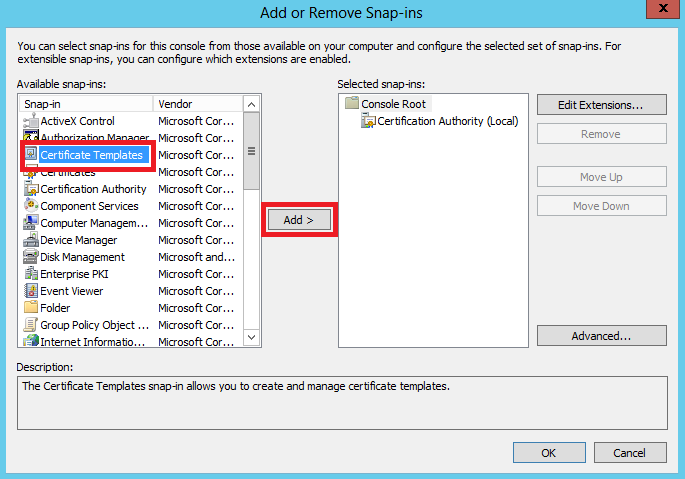{.shadow}Step 5
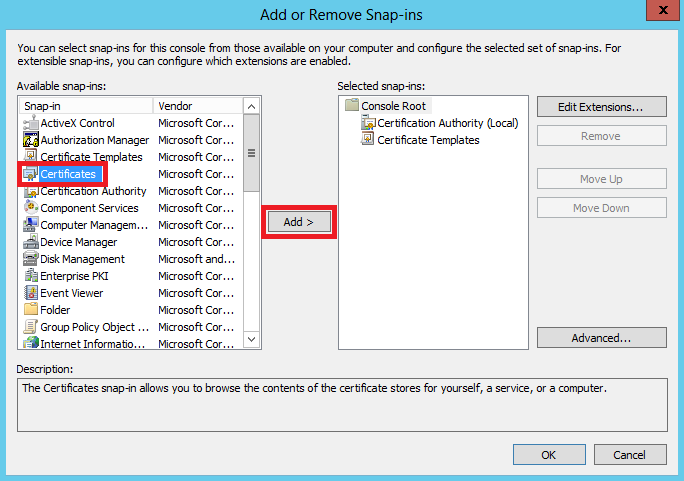{.shadow}Step 6
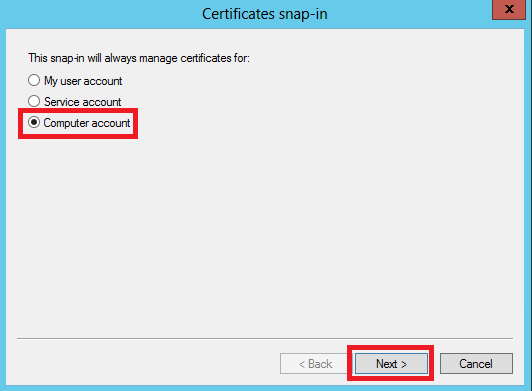{.shadow}Step 7
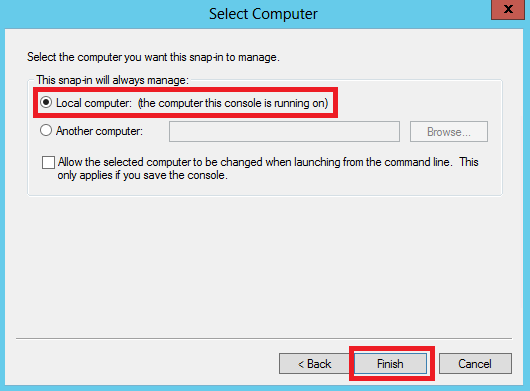{.shadow}Step 8
Creating the Custom Request
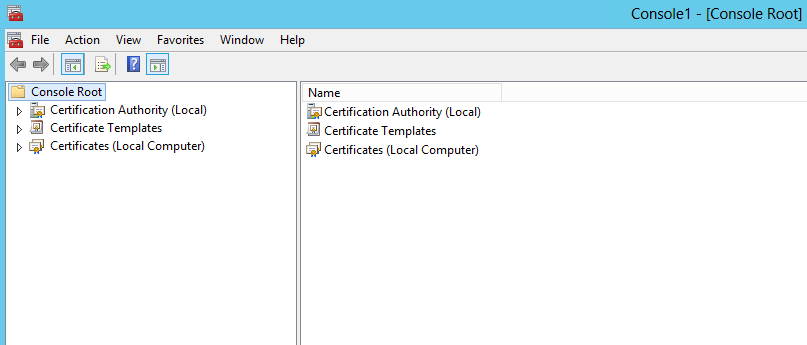 {.shadow}
Step 9
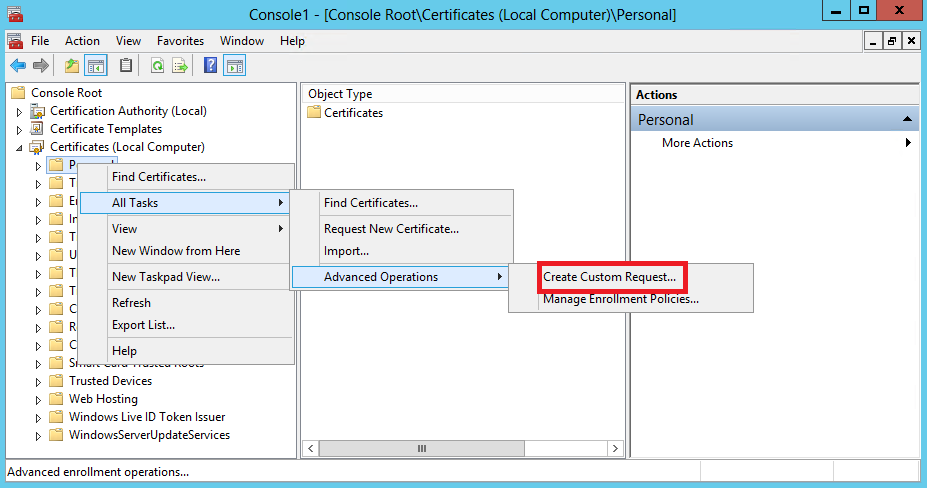{.shadow}Step 10
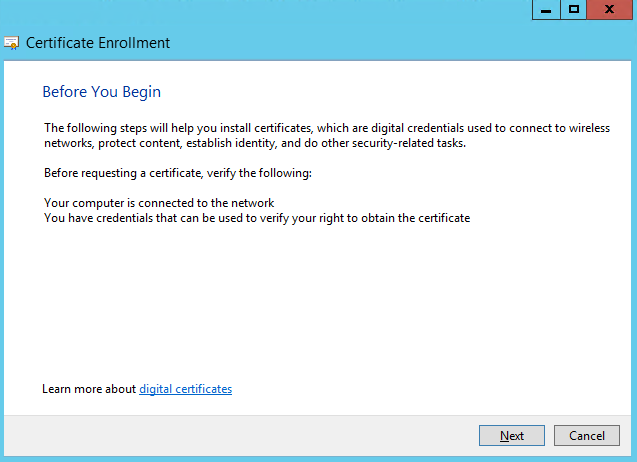{.shadow}Step 11
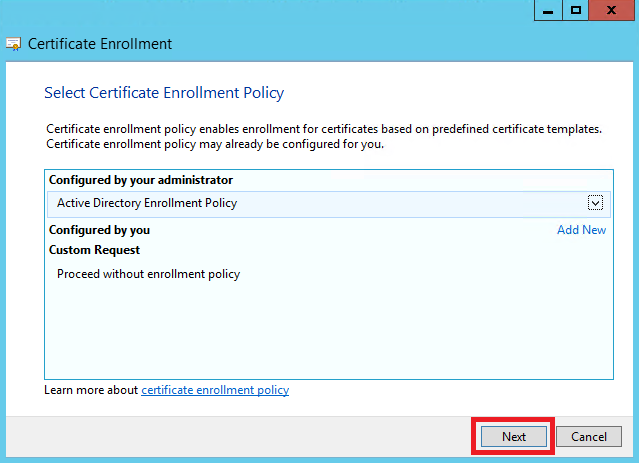{.shadow}Step 12
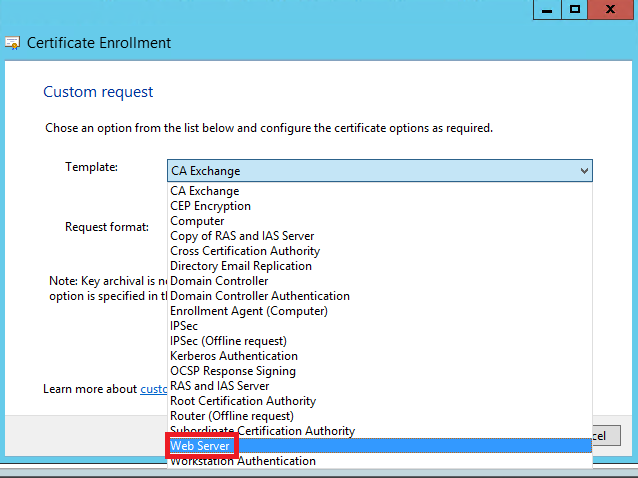{.shadow}Step 13
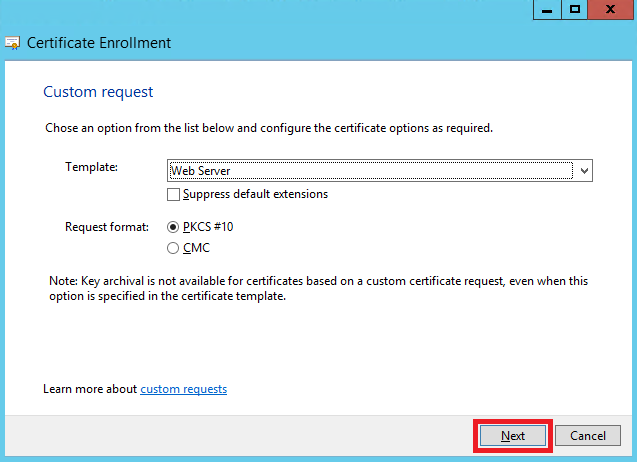{.shadow}Step 14
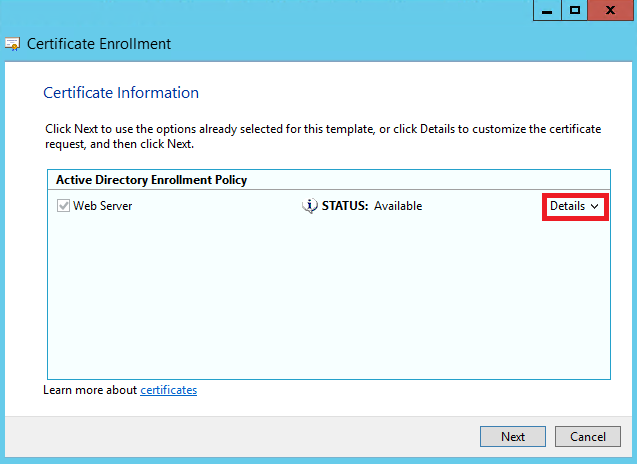{.shadow}Step 15
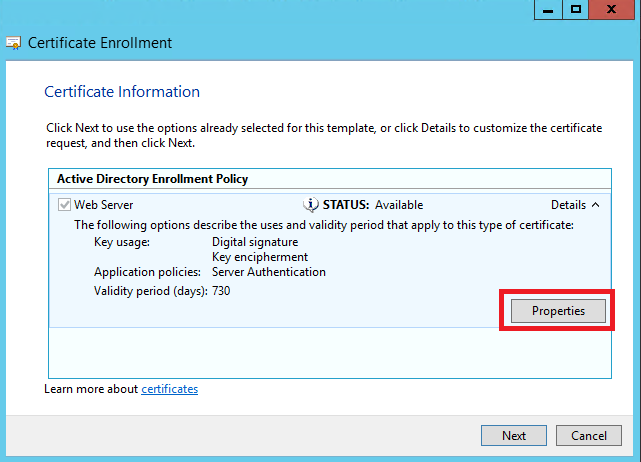{.shadow}Step 16
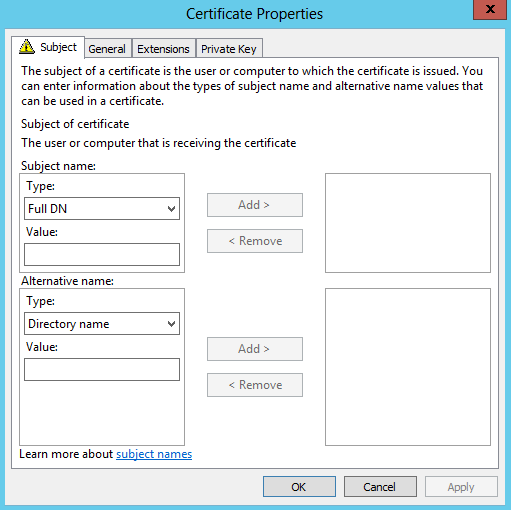{.shadow}Step 17
For the “Common name” property below, use the exact URL that will be used to access the PWA.
I mistakenly had used the fully qualified domain name, MySecureApp.CompanyDomain.local, for my app with a URL of https://MySecureApp . The Common name should have been set to MySecureApp.
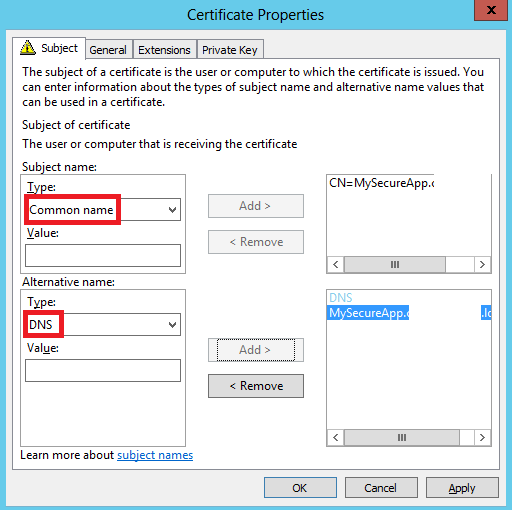 {.shadow}
Step 18
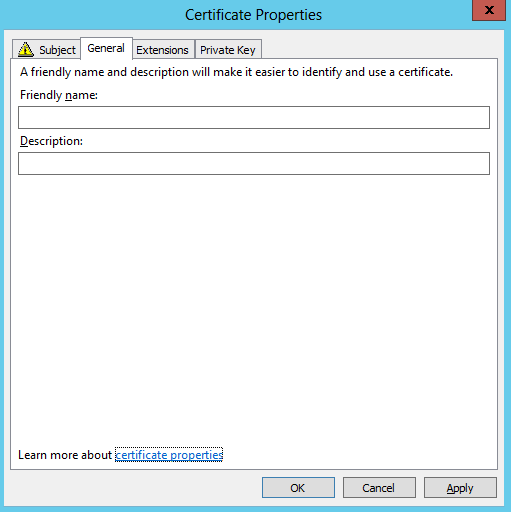 {.shadow}
Step 19
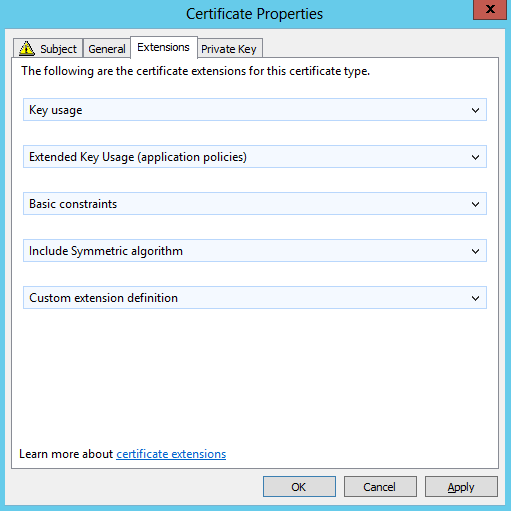{.shadow}Step 20
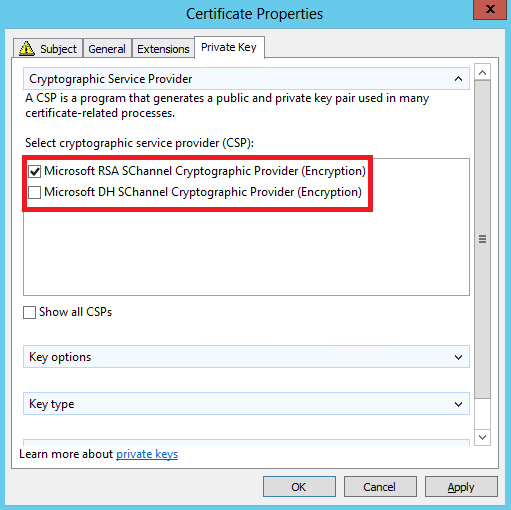{.shadow}Step 21
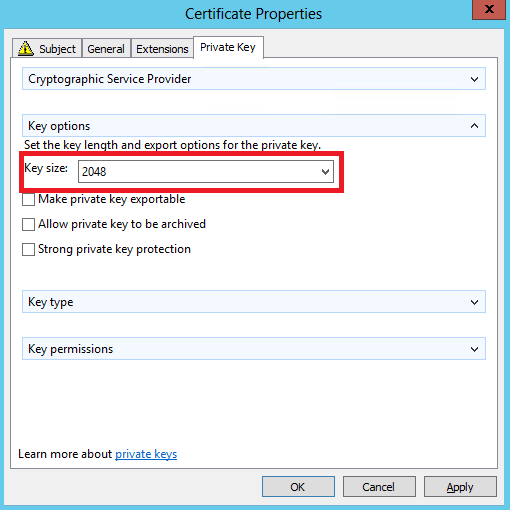{.shadow}Step 22
Submitting a new request
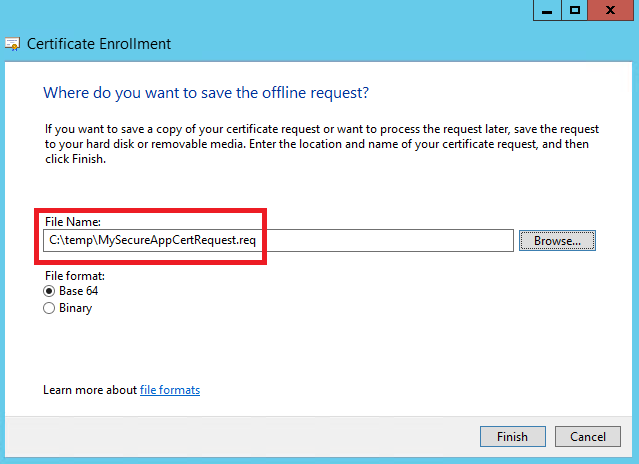 {.shadow}
Step 23
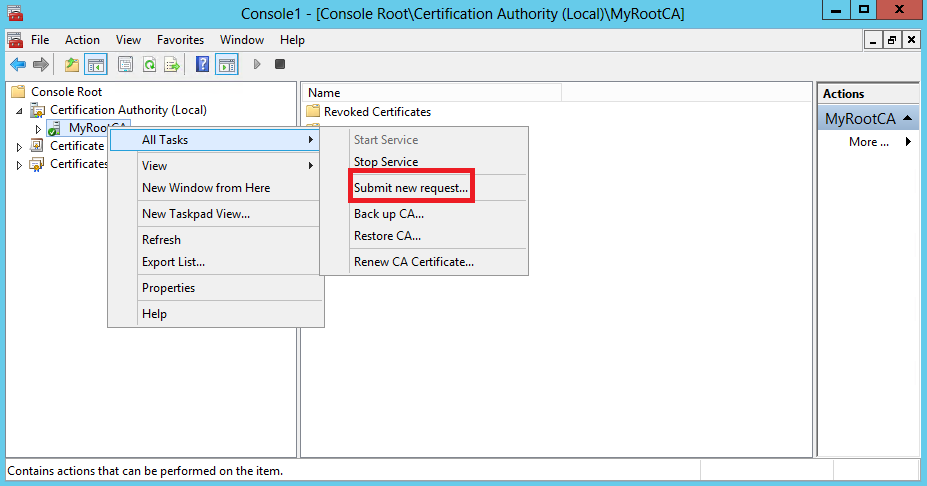{.shadow}Step 24
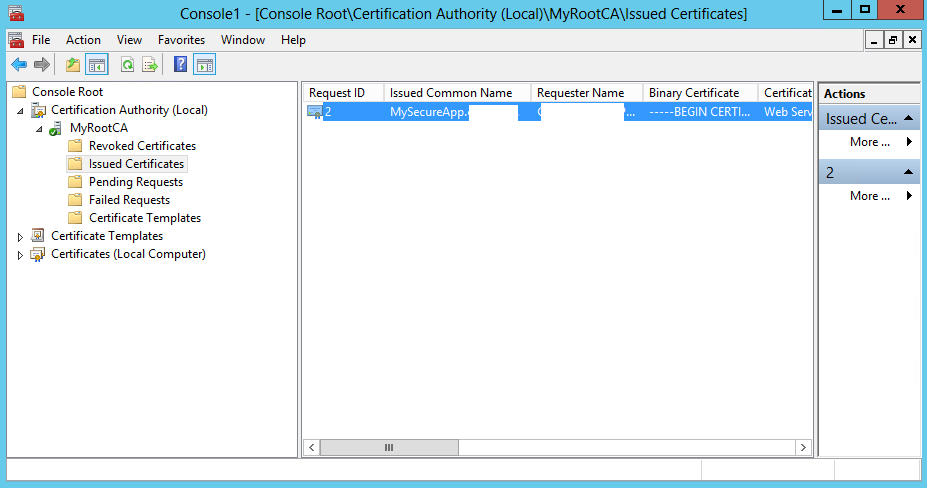
The Certificate Information
 {.shadow}
Step 25
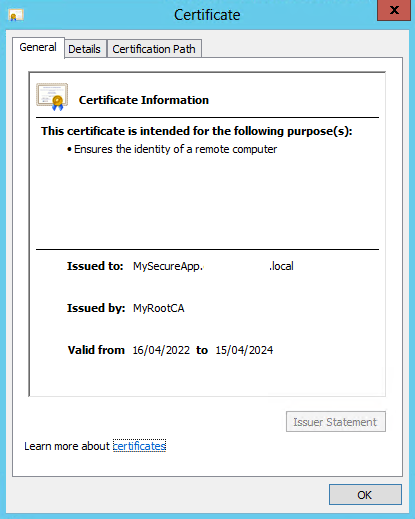{.shadow}Step 26
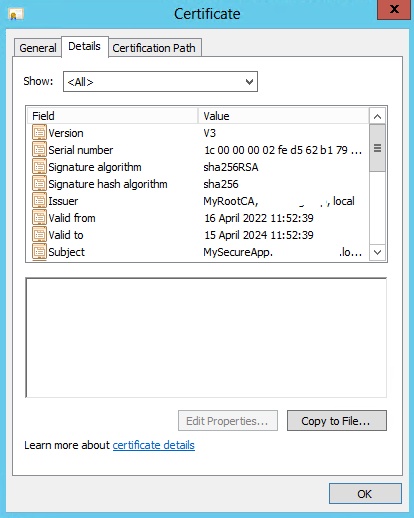{.shadow}Step 27
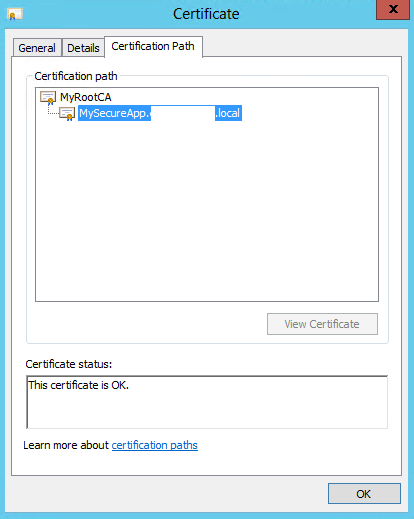{.shadow}Step 28
Saving the Console for future use
Saving the current console settings of the Management Console means that in future, the console can be opened with all of the actions associated with creating a certificate in one place.
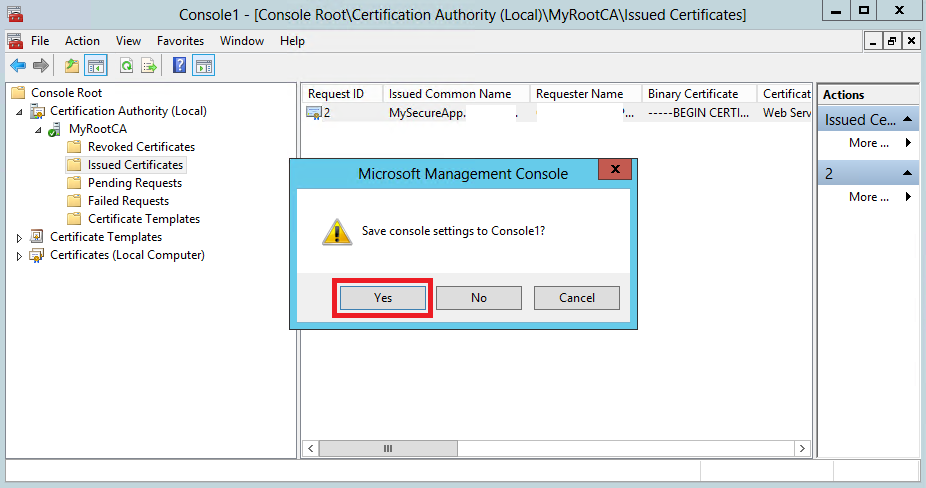 {.shadow}
Step 29
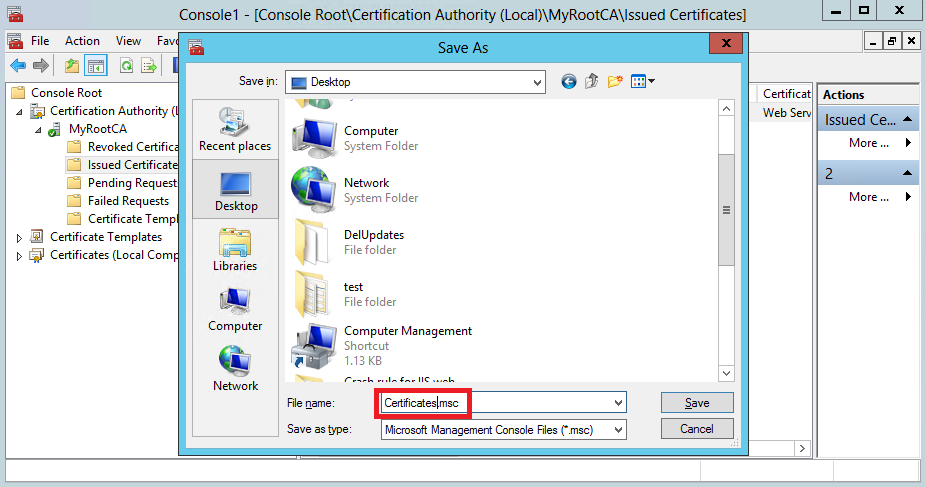{.shadow}Step 30